Confluence 恢复数据

我司神奇的机房策略,导致运行 Confluence 的 VM 暴毙。一番交涉无法解决问题,只能换机器从头恢复。

Confluence 内置了每日备份规则,将全站数据备份到本地目录。通过 rsync 和 cron,每天将新的备份文件同步到另一台机器,作为灾备。

操作系统 Ubuntu Server 16.04,Confluence 版本 6.9.0,数据库 MySQL。整个恢复过程使用到 3 个文件。

  • Confluence 安装包
  • 备份数据
  • MySQL JDBC 驱动

恢复过程如下。

下载 Confluence 安装包

$ wget https://product-downloads.atlassian.com/software/confluence/downloads/atlassian-confluence-6.9.0-x64.bin

安装和配置 MySQL

$ sudo apt-get update
$ sudo apt-get install mysql-server mysql-client

配置过程参考

修改 MySQL 配置文件/etc/mysql/mysql.conf.d/mysqld.cnf如下。

[mysqld]

character-set-server=utf8
collation-server=utf8_bin

transaction-isolation=READ-COMMITTED

innodb_log_file_size=256M

max_allowed_packet=256M

重启 MySQL 使设置生效。

$ sudo service mysql restart

进入 MySQL 控制台,创建 Confluence 使用的数据库和用户。

$ mysql -u root -p

mysql> CREATE DATABASE <database-name> CHARACTER SET utf8 COLLATE utf8_bin;
mysql> GRANT ALL PRIVILEGES ON <database-name>.* TO '<confluenceuser>'@'localhost' IDENTIFIED BY '<password>';

安装 Confluence

根据提示完成安装。

$ sudo ./atlassian-confluence-6.9.0-x64.bin
Unpacking JRE ...
Starting Installer ...
This will install Confluence 6.9.0 on your computer.
OK [o, Enter], Cancel [c]
Click Next to continue, or Cancel to exit Setup.
Choose the appropriate installation or upgrade option.
Please choose one of the following:
Express Install (uses default settings) [1],
Custom Install (recommended for advanced users) [2, Enter],
Upgrade an existing Confluence installation [3]
2
Select the folder where you would like Confluence 6.9.0 to be installed,
then click Next.
Where should Confluence 6.9.0 be installed?
[/opt/atlassian/confluence]

Default location for Confluence data
[/var/atlassian/application-data/confluence]

Configure which ports Confluence will use.
Confluence requires two TCP ports that are not being used by any other
applications on this machine. The HTTP port is where you will access
Confluence through your browser. The Control port is used to Startup and
Shutdown Confluence.
Use default ports (HTTP: 8090, Control: 8000) - Recommended [1, Enter], Set custom value for HTTP and Control ports [2]
1
Confluence can be run in the background.
You may choose to run Confluence as a service, which means it will start
automatically whenever the computer restarts.
Install Confluence as Service?
Yes [y, Enter], No [n]

Extracting files ...

Please wait a few moments while we configure Confluence.
Installation of Confluence 6.9.0 is complete
Start Confluence now?
Yes [y, Enter], No [n]

Please wait a few moments while Confluence starts up.
Launching Confluence ...
Installation of Confluence 6.9.0 is complete
Your installation of Confluence 6.9.0 is now ready and can be accessed via
your browser.
Confluence 6.9.0 can be accessed at http://localhost:8090
Finishing installation …

安装 MySQL 驱动

参考

根据官网,可使用的驱动的最高版本是 5.1.42,下载文件:

$ wget https://dev.mysql.com/get/Downloads/Connector-J/mysql-connector-java-5.1.42.zip

解压得到驱动 jar 文件,拷贝到 Confluence 安装目录<installation-directory>/confluence/lib下,重启服务。

$ unzip mysql-connector-java-5.1.42.zip
$ sudo cp mysql-connector-java-5.1.42/mysql-connector-java-5.1.42-bin.jar /opt/atlassian/confluence/lib/.
$ sudo service confluence restart

恢复 Confluence

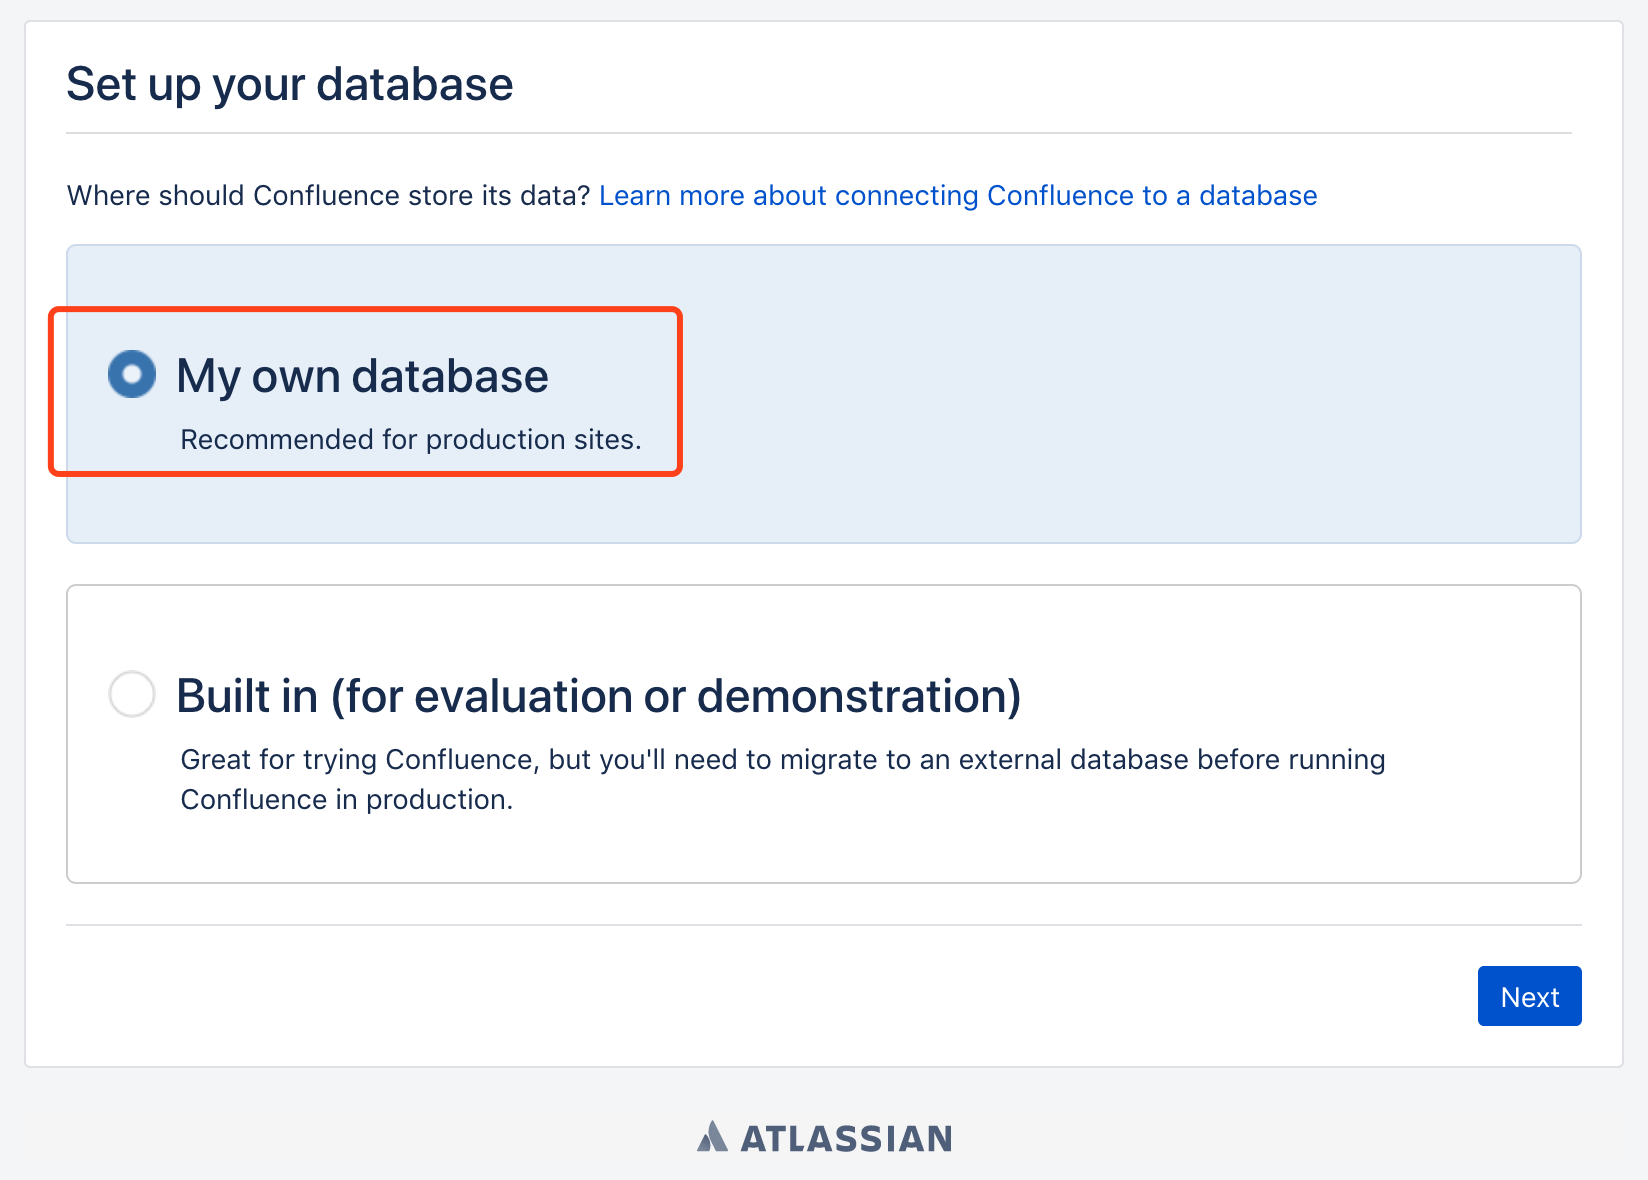
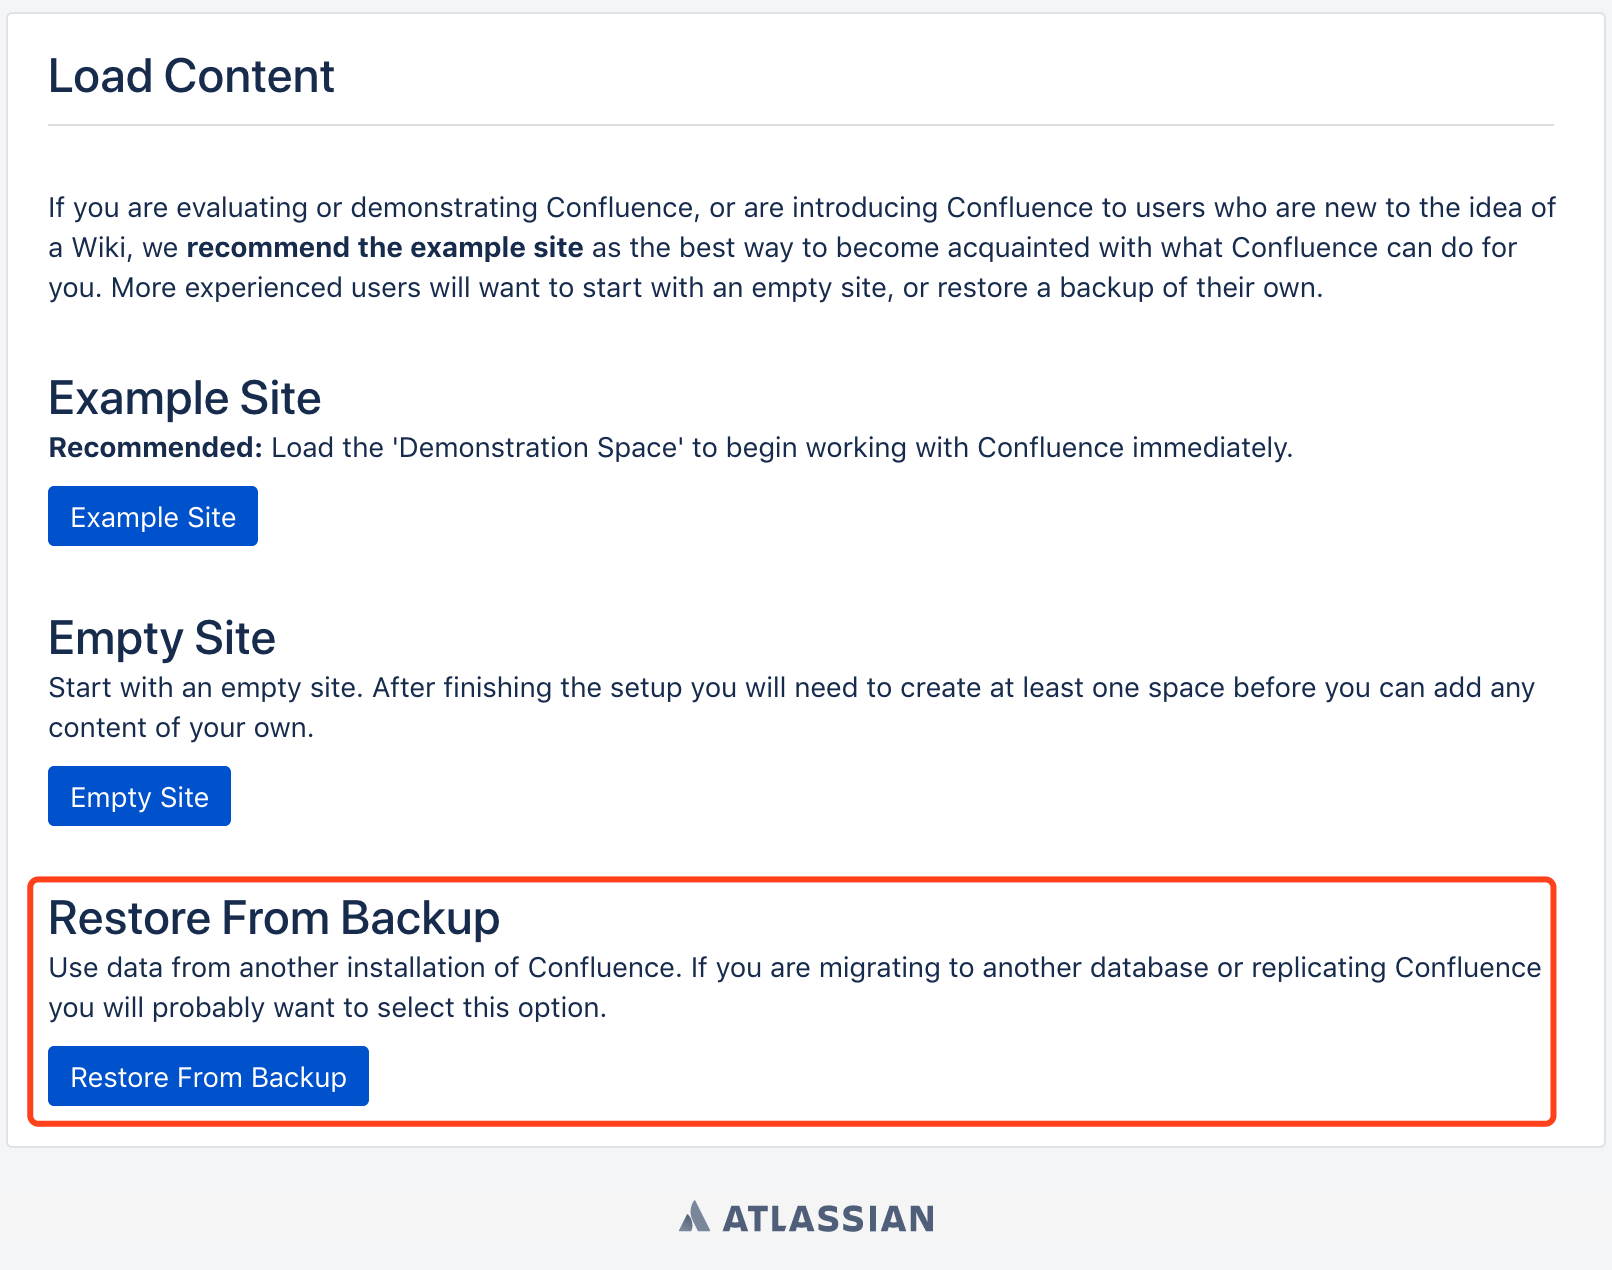
访问 http://server-address-or-domain:8090 配置 Confluence。

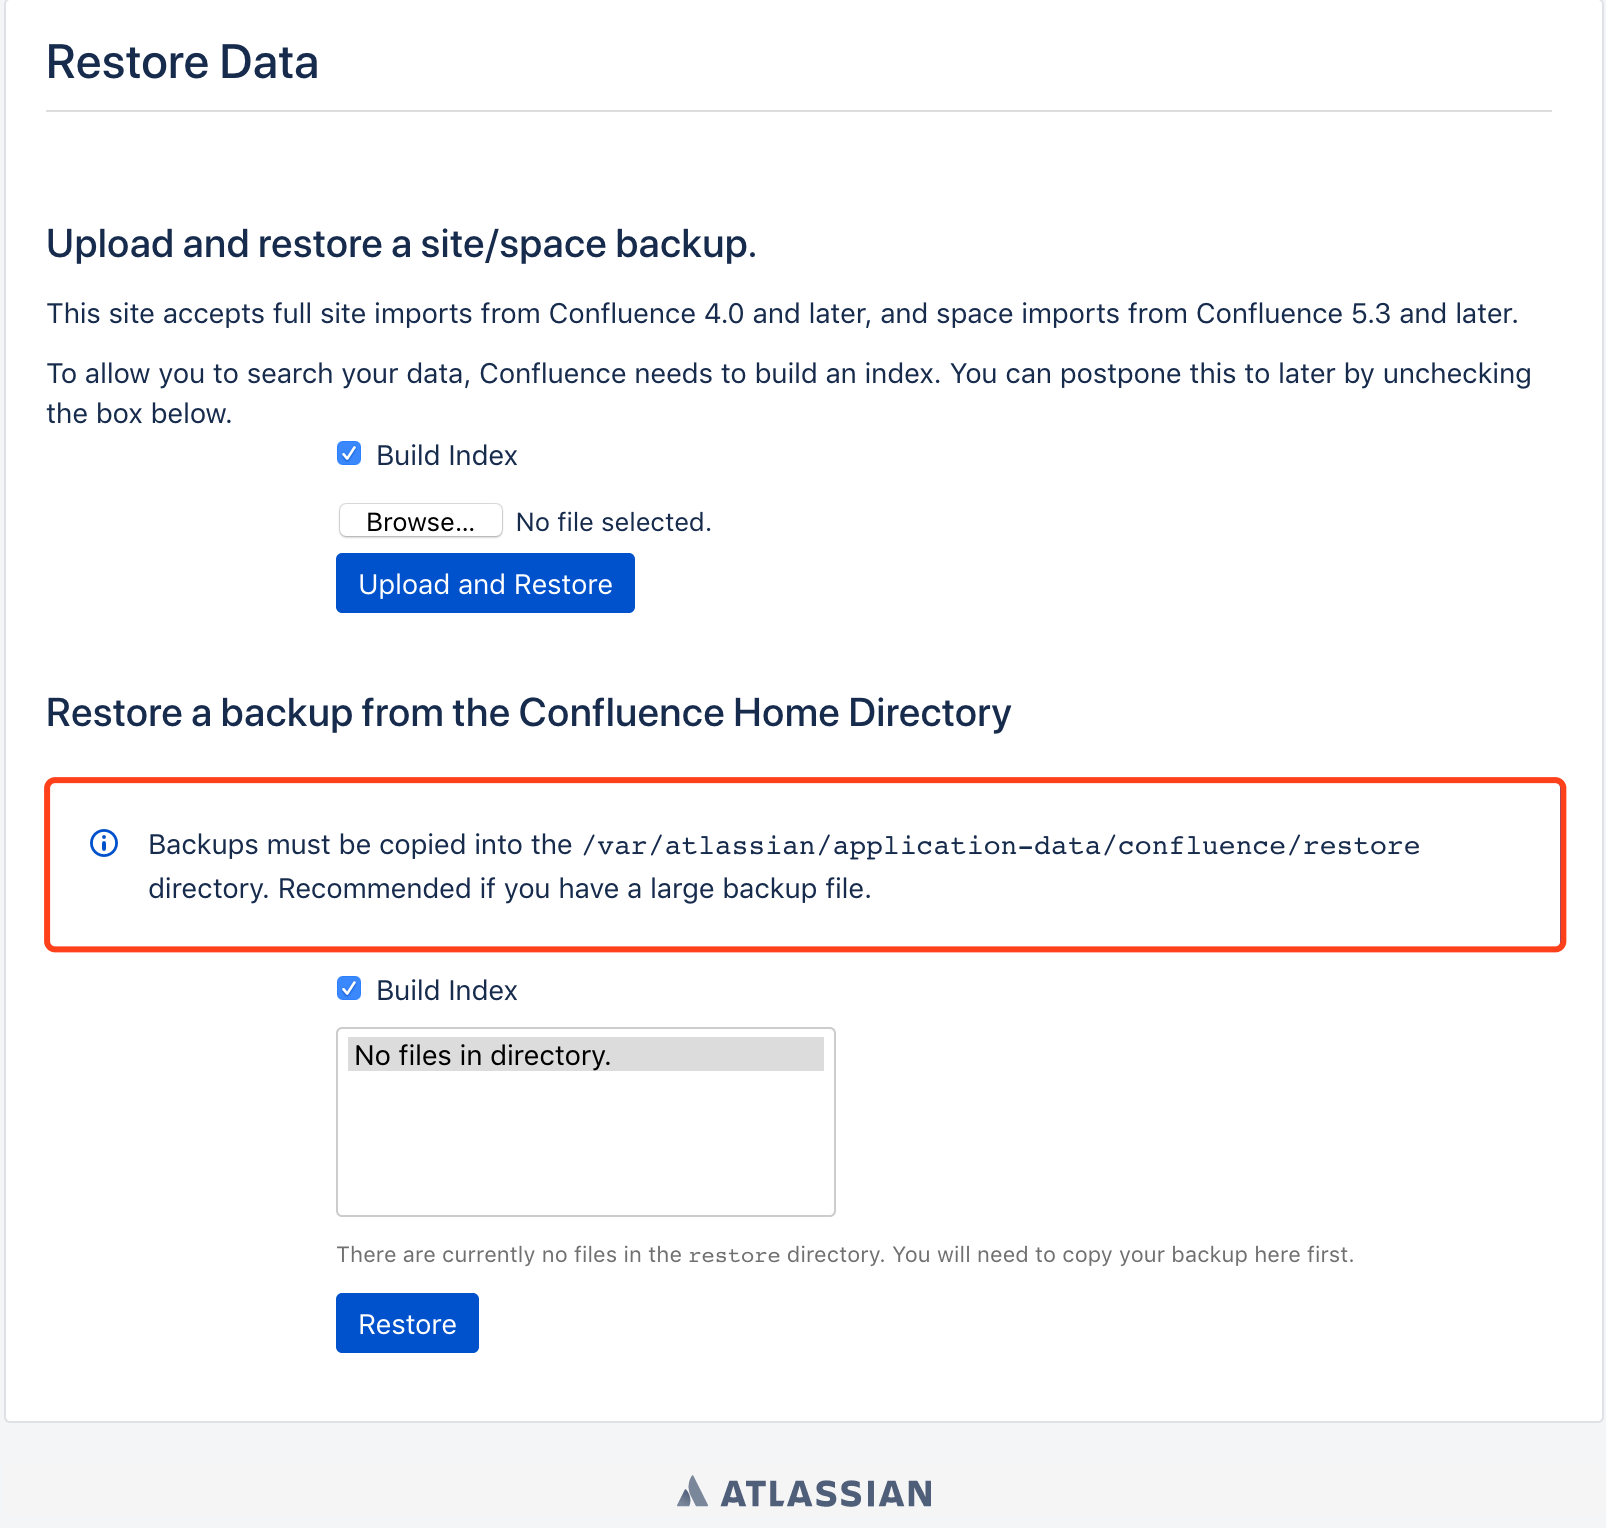
拷贝备份文件到对应目录,注意目录和备份文件的权限,用户confluence需要可以访问。刷新页面,开始恢复数据。

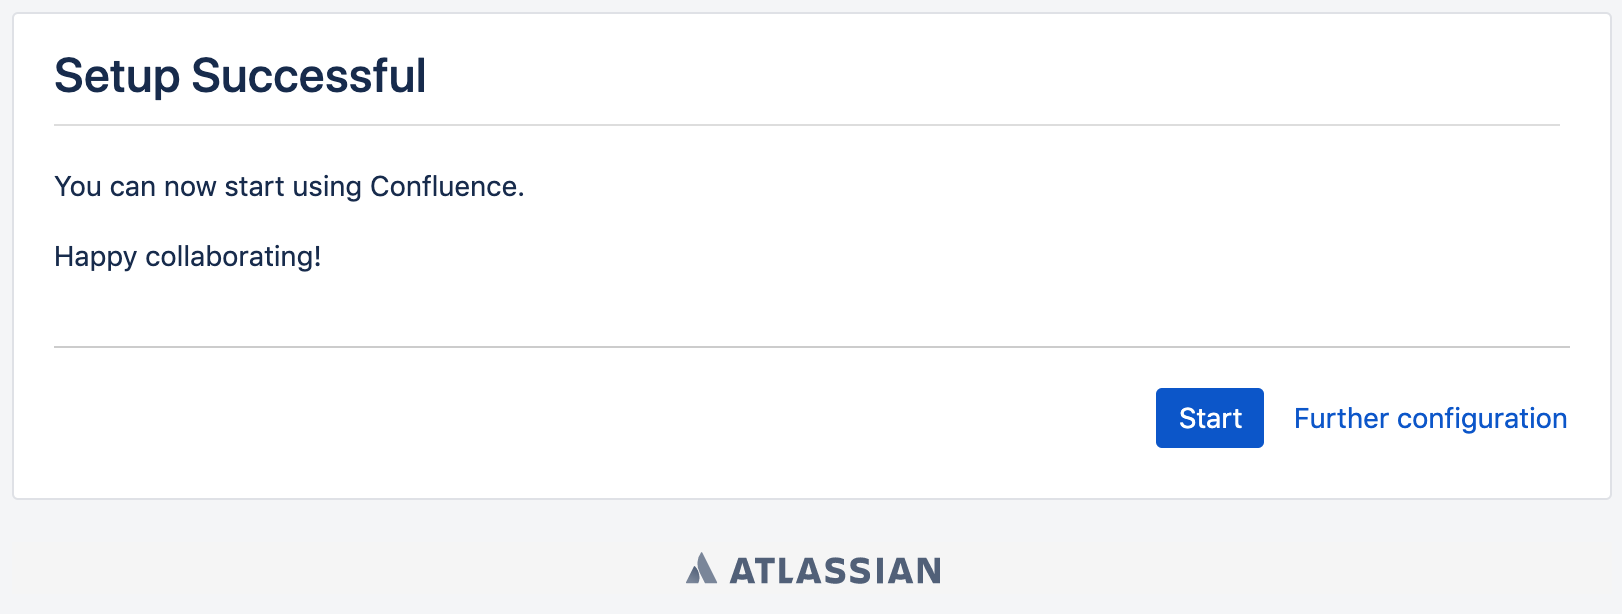
等数据导入结束后继续走完配置向导,完成整个 Confluence 数据恢复过程。

配置 rsync

因为换了 Confluence 服务器,所以需要重新配置 rsync(服务端),同时更新灾备机器(rsync 客户端)的配置。

服务端(Confluence 机器)

Ubuntu Server 默认安装了 rsync,修改文件/etc/default/rsync将服务打开。

RSYNC_ENABLE=true

系统自带了一个 rsync 的配置文件示例/usr/share/doc/rsync/examples/rsyncd.conf,拷贝一份到目录/etc

sudo cp /usr/share/doc/rsync/examples/rsyncd.conf /etc/.

更新文件的内容如下。

# GLOBAL OPTIONS

motd file=/etc/rsyncd.motd # [1]
log file=/var/log/rsyncd
pid file=/var/run/rsyncd.pid
syslog facility=daemon

# MODULE OPTIONS

[confluence]

comment = confluence backup rsync
path = /var/atlassian/application-data/confluence/backups
use chroot = no

lock file = /var/lock/rsyncd

read only = no # [4]
list = yes
uid = confluence # [5]
gid = confluence # [5]

auth users = hello # [2]
secrets file = /etc/rsyncd.secrets # [3]
strict modes = yes
hosts allow = <HOSTS_OF_YOUR_MACHINE>

ignore errors = yes
ignore nonreadable = yes
transfer logging = yes

timeout = 600
refuse options = checksum dry-run
dont compress = *.gz *.tgz *.zip *.z *.rpm *.deb *.iso *.bz2 *.tbz

定义一个 module,名字是confluencepath设置到 Confluence 的备份目录。

path = /var/atlassian/application-data/confluence/backups

有几点需要注意:

  1. 你可以在 motd(message of the day)文件里自定义连接 rsync 后的欢迎信息
  2. 指定哪些用户可以连接 rsync,这些用户在 secrets 文件中定义,与系统用户无关
  3. auth users中指定的用户需要在此文件中定义,文件权限 0600,每行一个username:password对,明文存储密码
  4. 灾备机器会定期清除过期的备份文件并同步修改到 Confluence 服务器
  5. 指定该模块传输文件时守护进程应该具有的 uid 和 gid,Confluence 备份目录的用户和组都是confluence
$ sudo cat /etc/rsyncd.motd
+---------------------+
| rsync hello message |
+---------------------+

$ sudo cat /etc/rsyncd.secrets
hello:password_of_user_hello

$ sudo ls -la /var/atlassian/application-data/confluence/backups
total 2156264
drwxr-xr-x 2 confluence confluence 4096 May 15 03:08 .
drwx------ 19 confluence confluence 4096 May 14 08:57 ..
-rw-r--r-- 1 confluence confluence 2207999672 May 15 02:04 backup-2019_05_15.zip

重启 rsync 服务。

$ sudo service rsync restart

客户端(灾备机器)

在 rsync 客户端创建 secrets 文件,避免每次连接都需要输入密码,文件权限同样是 0600。

$ vi rsync.secrets

文件内容为

password_of_user_hello

创建一个文件夹,用于存放同步下来的备份

$ mkdir rsync-confluence-backups

运行下面的命令,同步 rsync 服务端数据到本地。

$ rsync -avzP --delete --password-file=/path/to/your/rsync.secrets hello@rsync_server_host::confluence /path/to/your/rsync-confluence-backups/
+---------------------+
| rsync hello message |
+---------------------+

receiving incremental file list
./
backup-2019_05_15.zip
2,207,999,672 100% 6.08MB/s 0:05:46 (xfr#1, to-chk=0/2)

sent 54 bytes received 2,208,920,725 bytes 6,284,269.64 bytes/sec
total size is 2,207,999,672 speedup is 1.00

将上面的命令加到 cron 里,定时运行即可。

灾备机器会定期删除一部分过期备份以节省硬盘空间,通过 rsync,可以将这些更改从客户端同步到服务端。

在客户端(灾备机器)新建一个文件,用于测试上传。

$ echo 'hello world' > rsync-confluence-backups/upload.test

$ rsync -avzP --delete --password-file=/path/to/your/rsync.secrets /path/to/your/rsync-confluence-backups/ hello@rsync_server_host::confluence
+---------------------+
| rsync hello message |
+---------------------+

sending incremental file list
./
upload.test
12 100% 0.00kB/s 0:00:00 (xfr#1, to-chk=0/3)

sent 197 bytes received 46 bytes 54.00 bytes/sec
total size is 2,207,999,684 speedup is 9,086,418.45

上服务端看看,文件upload.test的用户和组,正是你在rsyncd.conf配置文件中设置的 uid 和 gid。

rsync 配置完成。

参考